Easy, Automatic Server Mocking for iOS Testing
What do you do when you need to run UI tests on an integration server for an app that requires a VPN to reach its web service?
This was a question that I needed an answer for earlier this week. My first thought was to try to stub out the service calls with dummy data and bundle it with my app, but this was going to need a lot of work to maintain and I am pretty lazy. After an hour or so of research, I came upon mitmproxy. Here is the solution…
Project Configuration
First set up a new project configuration and call it something like “Mock” In your app’s target build settings, find the section called “Other Swift Flags”. Twirl down the arrow and add “-D MOCKING” next to your mocking configuration. This works similarly to preprocessor macros in Objective-C, and will allow you to set up code that will only be compiled when it is defined. Hopefully you are using NSURLSession for your API calls, find the place where you initialize it and set its configuration like this.
#if MOCKING

let proxyDict: [AnyHashable: Any] = [
    "HTTPSEnable"   :1,
    "HTTPSProxy"    :"localhost",
    "HTTPSPort"     :8080,
    "HTTPEnable"    :1,
    "HTTPProxy"     :"localhost",
    "HTTPPort"      :8080
]

URLSession.configuration.connectionProxyDictionary = proxyDict

#endif
This will redirect your http and https requests made with that session through your local proxy.
Install and Configure mitmproxy
Now you are ready to install mitmproxy. brew install mitmproxy. After
installing, run it once from the terminal to make sure everything works.
This will also install a certificate into ~/.mitmproxy.
Clone this repository somewhere.
This tool will install the certificate into your simulators. Run this command:
./iosCertTrustManager.py -a ~/.mitmproxy/mitmproxy-ca-cert.pem
You will have to enter “y” for any of the simulators you want to use. Now comes the moment of truth. Run mitmproxy again and start-up your app. Requests should appear in the window.
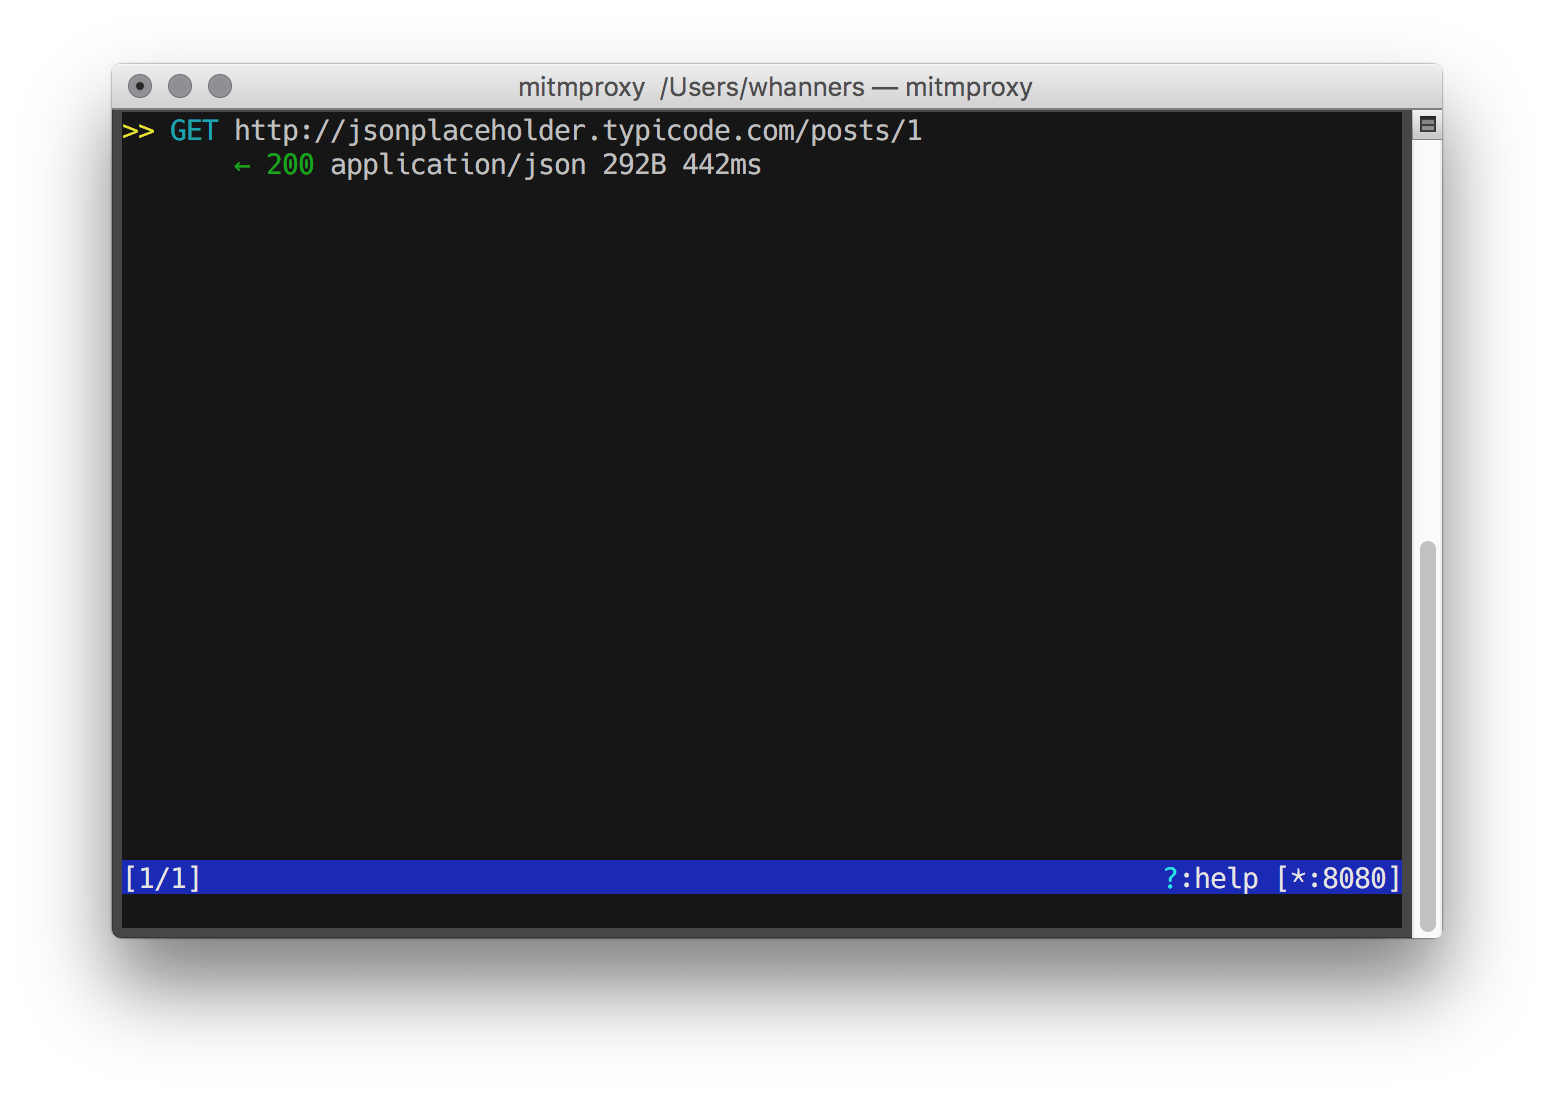
SUCCESS!!!
Start Recording
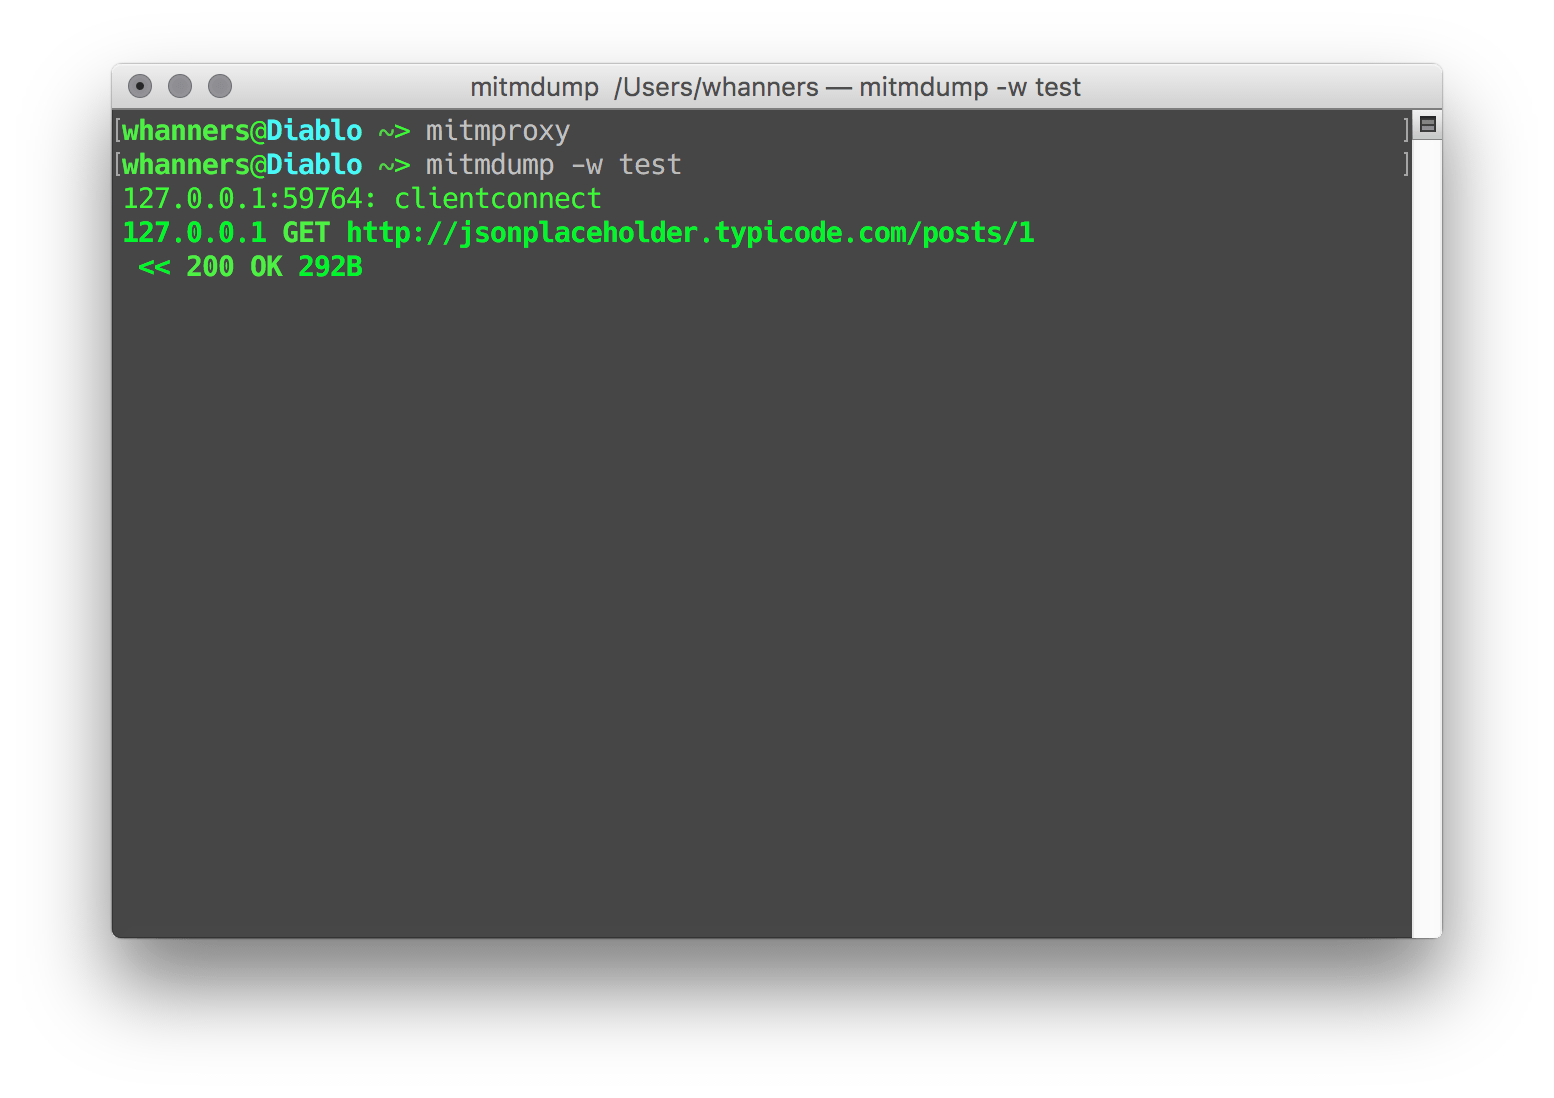
Finally we can start recording, when you are ready, run this command.
mitmdump -w output_file_name
You can name the output file whatever you want. Once it is running, do any actions you want to record in the Simulator, and they will be saved to that file.
Press CTRL+C when you are done. Now when you want to replay the responses you saved, run this command.
mitmdump -S saved_file
If your server is uses https, you can prevent mitmdump from trying to check the certificates during replay by adding the option “–no-upstream-cert”. You will now be able to run your app, even if you have no internet connection. This works especially well for UI testing since your requests are not likely to differ between runs. …and that’s it. I hope you find this useful, and if you have any questions, feel free to poke me on twitter.