UITableView Storyboard Design
Frequently I will come across some code for an iOS app that looks like this.
class ViewController: UIViewController, UITableViewDataSource, UITableViewDelegate {

    func tableView(tableView: UITableView, cellForRowAtIndexPath indexPath: NSIndexPath) -> UITableViewCell {
        let cell = tableView.dequeueReusableCellWithIdentifier("basicCell", forIndexPath: indexPath)
        cell.textLabel?.text = "Some Test Data"
        return cell
    }

    func numberOfSectionsInTableView(tableView: UITableView) -> Int {
        return 1
    }

    func tableView(tableView: UITableView, numberOfRowsInSection section: Int) -> Int {
        return 20
    }
}
And a storyboard that looks like this.

Now, there is nothing wrong about this, a lot of Apple code demonstrates doing this exact thing. You insert a tableView where it is required, implement delegate and datasource protocols, drag connections in your storyboard and you are done, but we can do a lot better. Let’s begin by describing two of the big issues with this particular pattern.
- This tableView is not reusable, you will have to rebuild it, along with it’s prototype cells in every screen that requires this data.
- Your viewController will become polluted with code to handle taps, edits and actions for this tableView and will contribute to creating a “Massive View Controller”
Xcode has given us the tools to improve this quite a bit right off the bat. If you look in the object browser in Xcode, you will find an object you are unlikely to have used before.
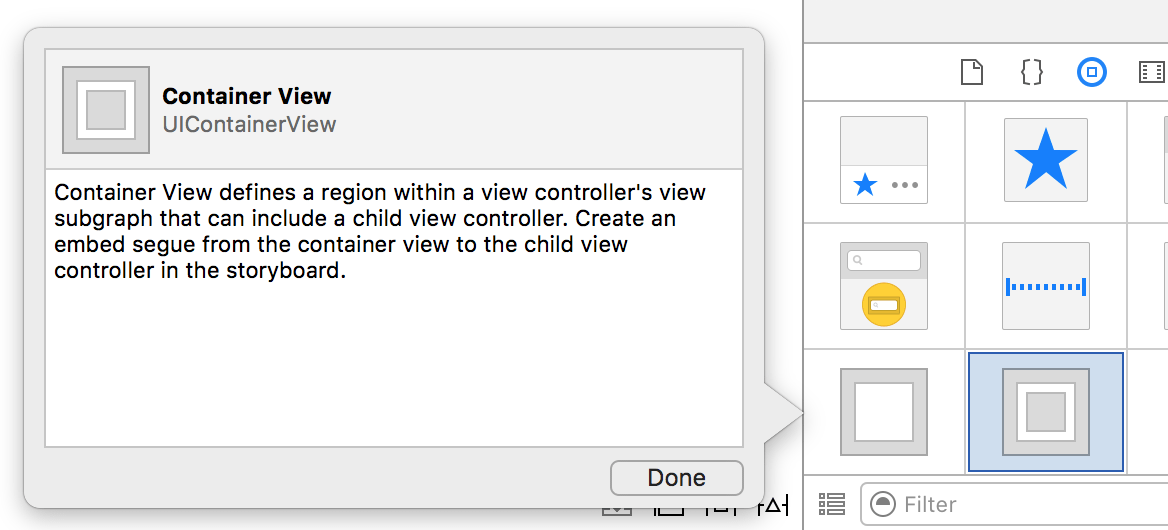
This will allow you to embed a scene from your storyboard directly into another. Let’s see what this looks like. Start by deleting your old tableView then dragging out a UIContainerView and setting its constraints. You would want the container to be positioned in the exact spot you want your tableView to be. You will notice it created a new scene attached to it, it’s a generic UIViewController, go ahead and delete that for now. Drag a new UITableViewController out into your storyboard, we need to reconnect it to the container.
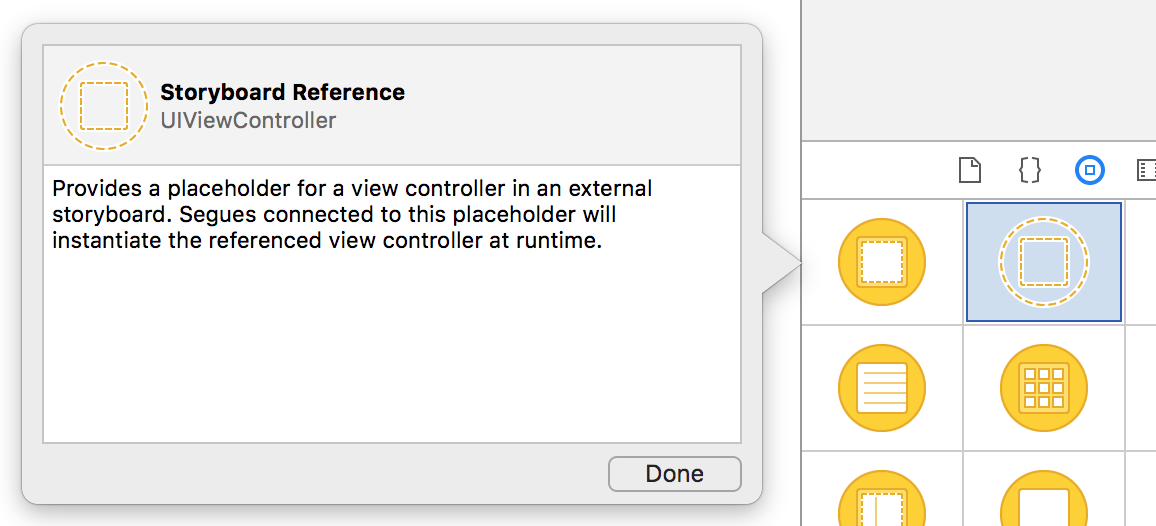
You now have a UITableViewController that can be used between multiple scenes in your storyboard. You just set the controller’s class, stick your delegate/datasource methods in and you are good to go. But we aren’t done yet, in Xcode 7, Apple gave us Storyboard references. By using references, you can embed this tableView in completely different storyboards. Start by dragging out one of these guys into your other storyboard
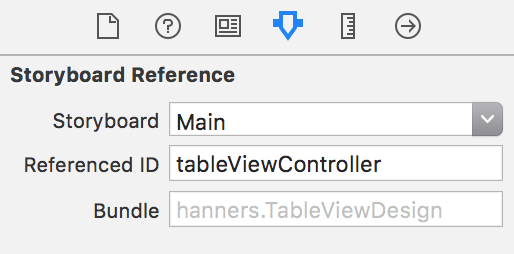
Next you want to set its storyboard and identifier (I have my tableView scene from the above the identifier “tableViewController”, but you can make something more fitting for your app). The identifier here needs to match whatever you put in your tableView scene’s “Storyboard ID”.
Now you can repeat the same steps as above to create and connect a UIContainerView to this new reference and voila you have embedded the tableView here as well. I hope this helps you improve your app structure and write less code. I was blown away when I found out how to do this. If you have any questions, poke me on twitter and I will try to help you out.